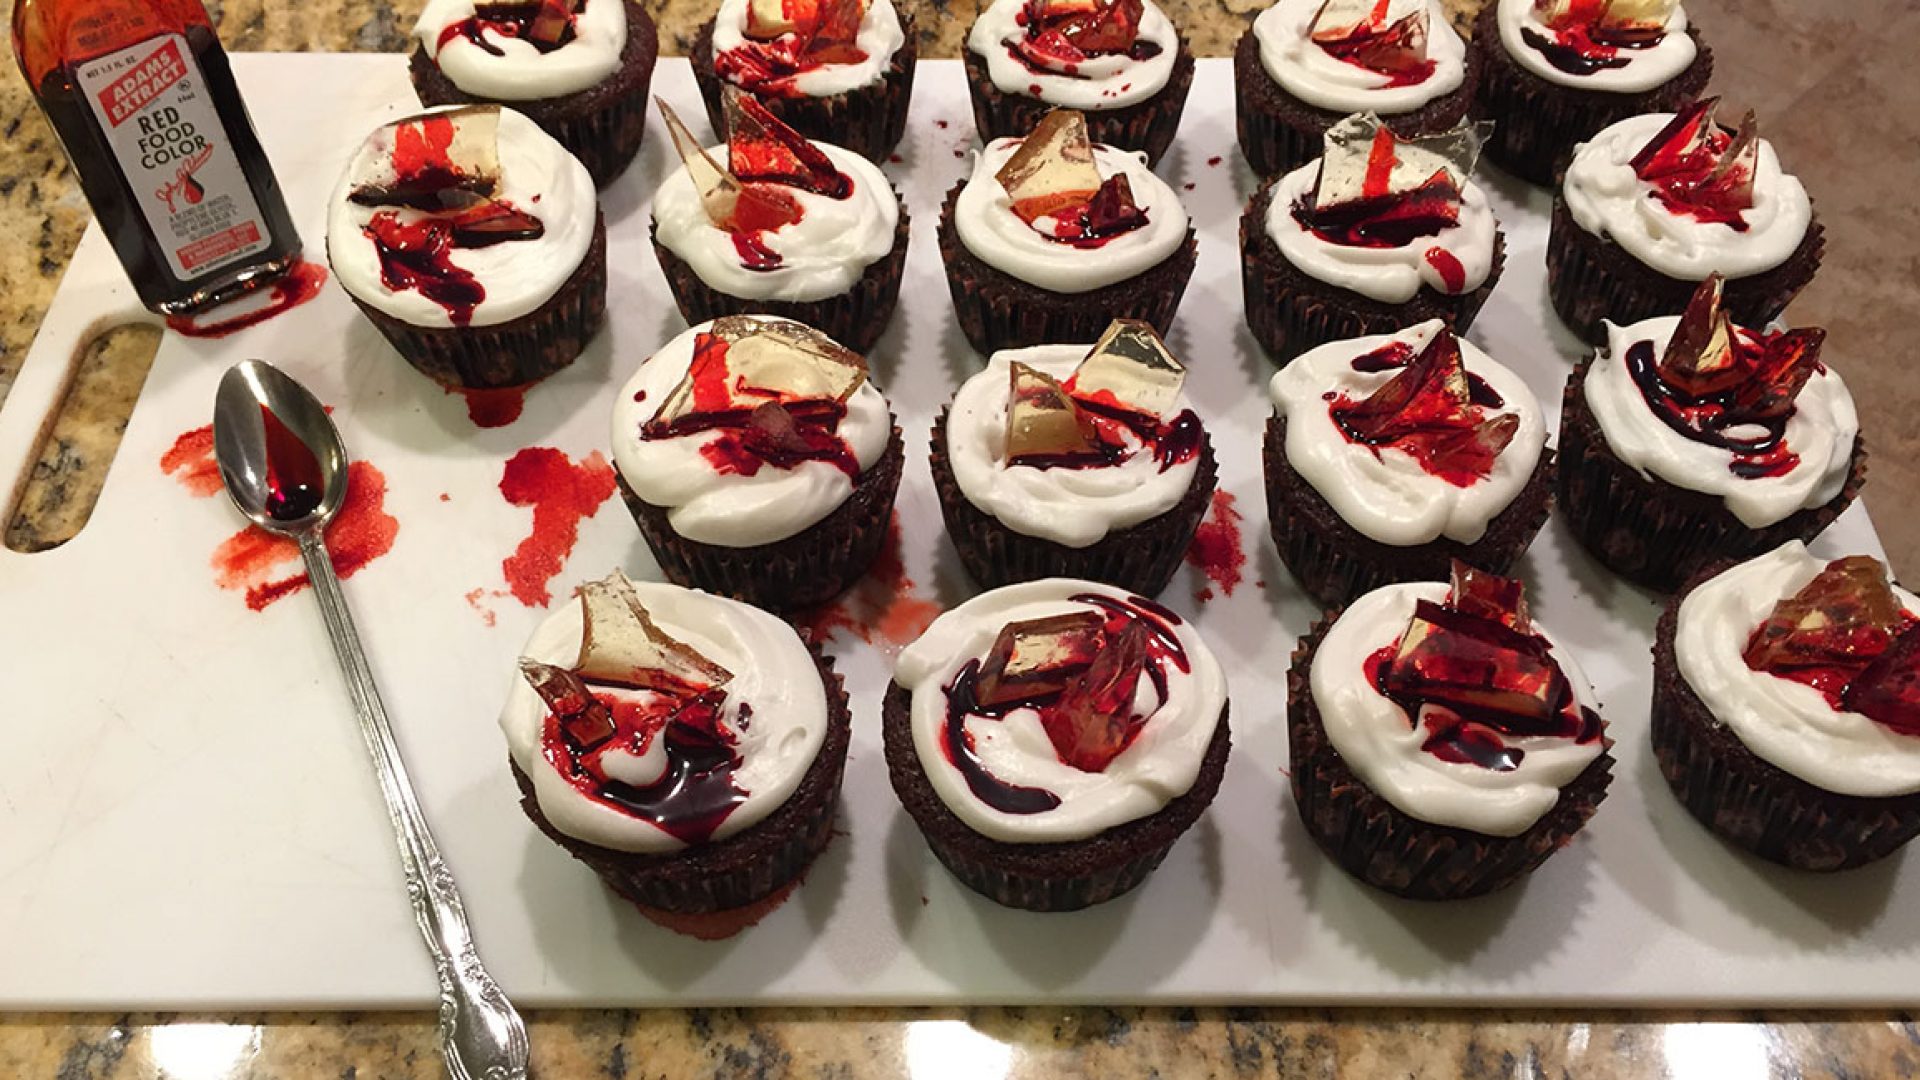
Mortals, bare your sweet tooths! These creepy cupcakes have the makings to turn National Dessert Day, this Friday, into a scream fest; they will give your Halloween spread an edge and sharpen any horror movie marathon to a delicious climatic point. You will have a bloody good time bringing these deadly goodies to life; it has never been so much fun to turn your kitchen into the sight of an untimely demise.
A delightful element to baking cupcakes is that you are never restrained to one flavor. The recipe that follows in this blog post is for chocolate blood drip cupcakes; but, should you prefer red velvet or vanilla cupcakes with your broken glass, these recipes are available to you online. Be mindful that not every recipe is guaranteed to be the same, especially with respect to the glass candy confection, as each mad baker has his or her own way of concocting these eerie delicacies.
Recipe (By Naomi Robinson on Delish.com): Blood Drip Cupcakes
To help you avoid any creeping concerns or terrifying surprises that may wound you as you undertake this haunting, culinary experiment, I have jotted down a few notes beneath each of the proceeding images.
Assemble Your Ingredients

- Robinson’s recipe calls for “Buttercream” frosting, but store-bought buttercream frosting has a light yellow hue to it that I felt was unsuitable for presentation purposes, particularly with the application of the blood, er…I mean red food dye; therefore, I used Duncan Hines “fluffy white” whipped frosting.
Glass Candy Boiling Point
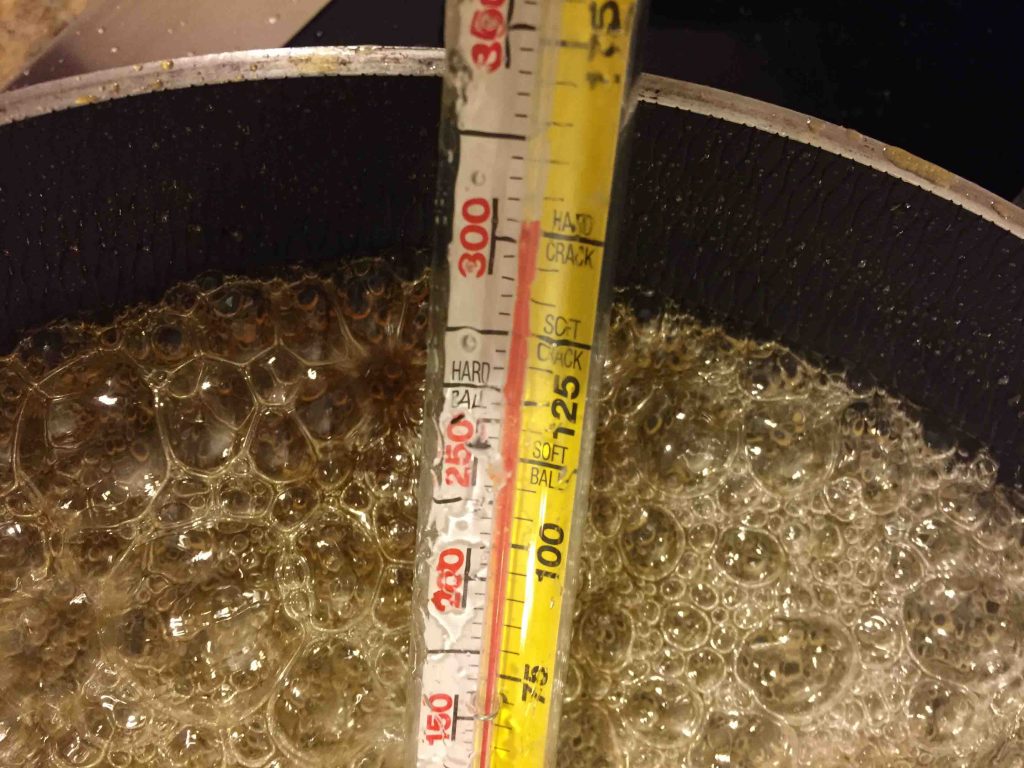
- Creating the glass candy was honestly the most unsettling procedure because reaching the boiling point (300 degrees F) was an hour-long practice in patience. Robinson’s recipe says, “Stir until mixture begins to boil. Stop boiling and clip candy thermometer to side of pan.” Unfortunately, each time I extinguished the stove-top flame, the candy thermometer climbed no further than 150 degrees F. In the end, I kept the flame ignited, the candy mixture boiling, and a watchful eye on the ascending red line till it reached 300 degrees F.
- An undesirable transformation that occurred with my glass candy mixture was a faint yellow discoloration. According to online baking chatrooms, this alteration in the mixture’s hue was likely the result of bringing the concoction to 300 degrees F, at which point it began caramelizing; I wonder though if bringing the mixture to a boil several times over an hour was equally responsible. The chatrooms suggest plunging the pan into ice water as soon as the candy thermometer reads 300 degrees F or using isomalt – a sugar substitute – in place of Robinson’s glass candy mixture.
Icing the Cupcakes
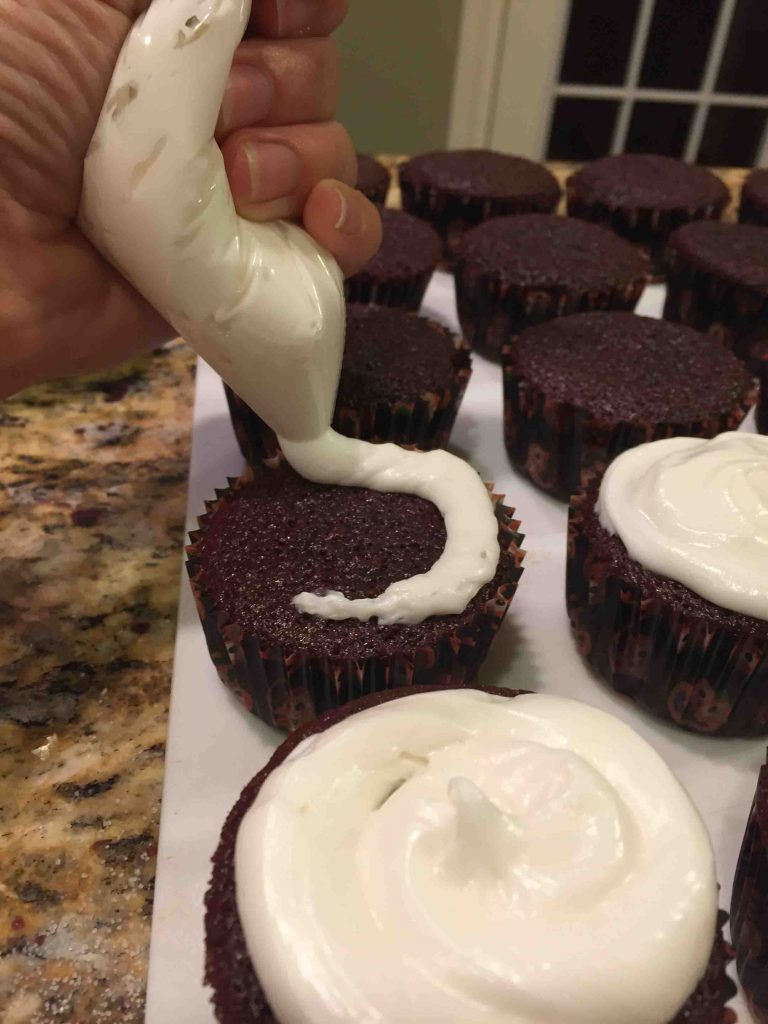
- If you do not own an icing decorator kit, an easy way to dispense the icing onto the cupcakes is to fill a small Ziplock® bag with spoonfuls of the icing, seal it, and trim off a corner of the bag, through which you gently squeeze out the icing in swirls upon each cupcake.
It Bleeds! The Final Product
Concluding Thoughts:
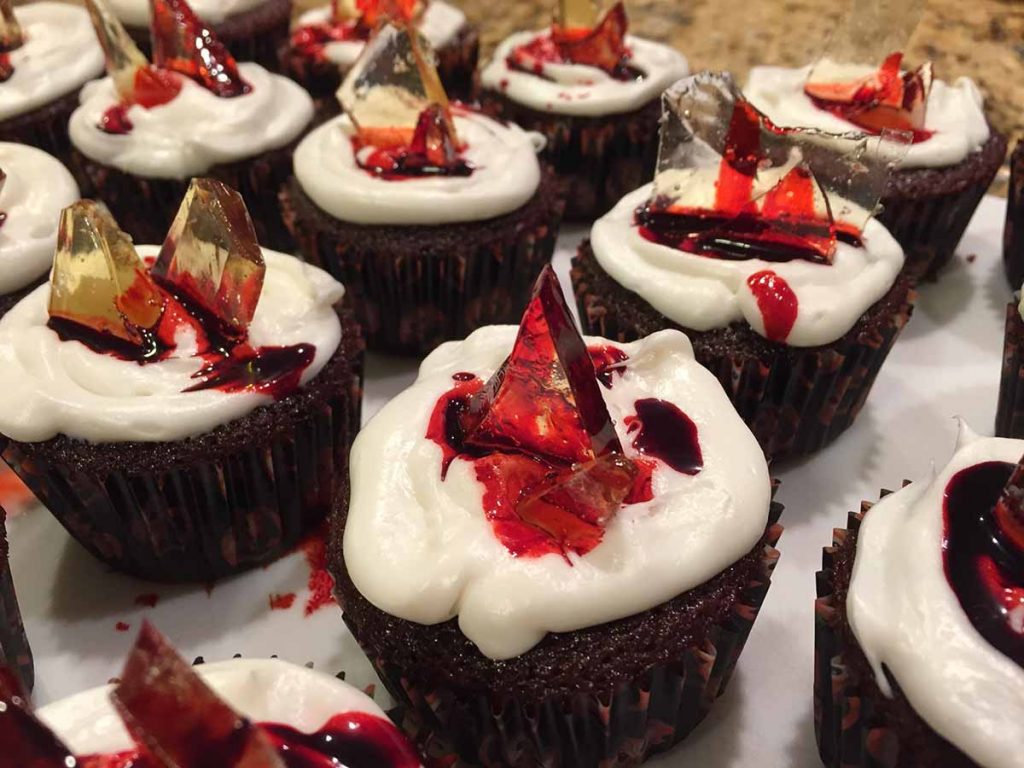
- As you can see in the final product images, the glass candy looks like actual glass; it is sharp in appearance. However, despite putting the cupcakes in an air-tight container, the glass candy lost its edge overnight, almost rounding out to look like crystals. My best guess is that the glass candy absorbed moisture in the air, thereby losing its luster and edgy form.
- I have noticed that the measured ingredients for the glass candy in Robinson’s recipe slightly differ from those in other recipes; Robinson uses a half-measure less of the recommended light corn syrup, sugar, and water amounts. If this plays a part in the glass candy losing its edge, I do not know; however, I plan to make the glass candy again by adding a half-measure more to those specified ingredients.
Enjoy slaying your friends with these delectable desserts on National Dessert Day or any day thereafter.
Additional Helpful Sources:
Prevent Hard Candy from Melting
Glass Shard Cupcakes with Isomalt Sticks
Keeping Isomalt Crystal Mixes Clear

