We all go a little mad sometimes.
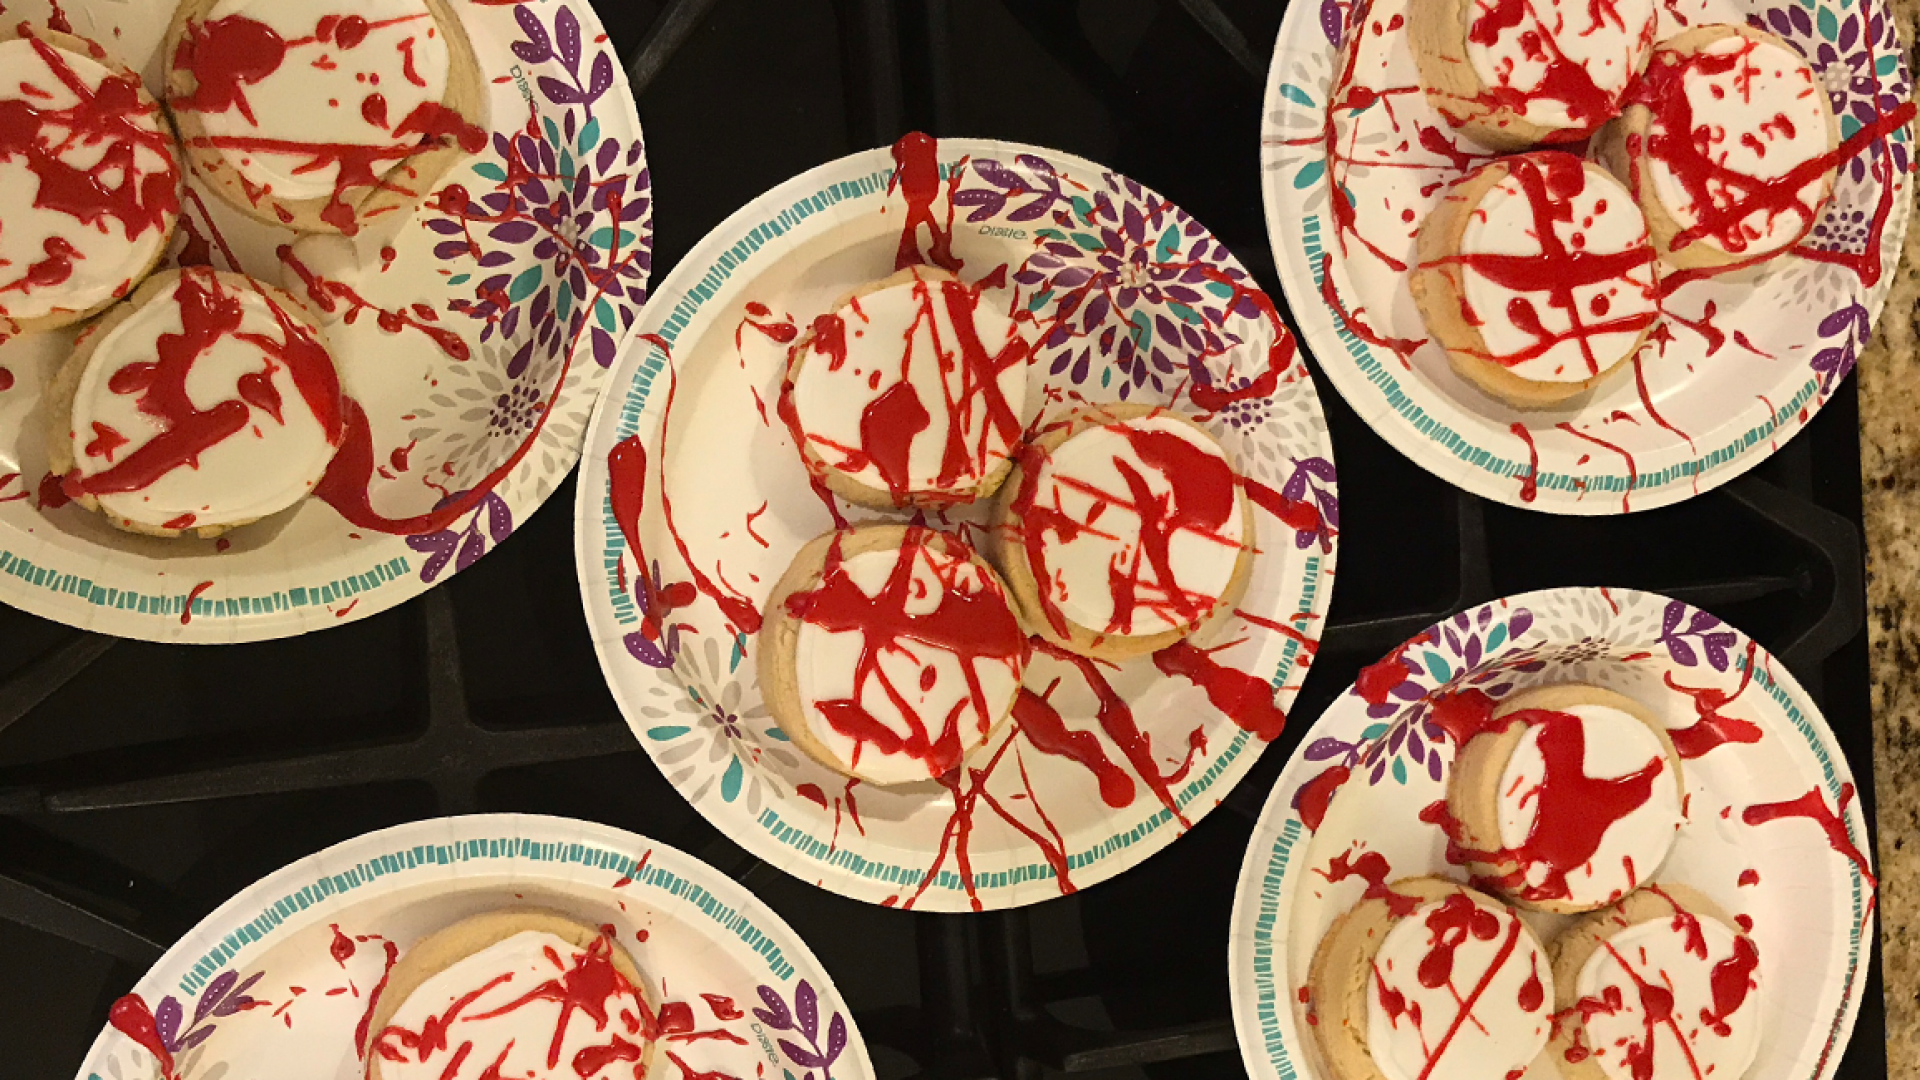
As Norman Bates so eloquently put it…I confess, I went a little mad in the kitchen. What a mess! It looks like the scene of a terrible crime, when really it is that of a delicious catastrophe. These cookies, while completely legal, are being entered into evidence to support my case of mad baking gone horribly right. Never would I have imagined it to be so much fun splattering “fake” blood over snow-white icing caps – the sharp contrast between the colors is irksome, yet in the spirit of Halloween surprisingly tantalizing. These bloodcurdling treats are the perfect midnight snack for your scary movie marathon, with the slashing approval of Mr. Bates and his comrades, Michael Myers, Jason Voorhees, and Freddy Krueger.
The recipe that follows in this blog post is for sugar cookies; but you can bake a batch of chocolate, pumpkin, or gingerbread cookies – whatever you like, and shower them in the rubious glaze.
Recipe (By Kitchen Mason on Instructables.com): How to Make Blood Spatter Cookies
To help you get away scot-free with the baking and grisly garnishing of these tastefully heinous cookies, I have jotted down the following notes. Remember: No fingerprints, no witnesses.
Ingredients
Your initial scare comes when you realize Mason measures out her ingredients in grams rather than cups. Take a deep breath and slowly exhale, as you read the converted ingredient list I have provided below:
For the Cookies
- 17 ½ tbsp Unsalted Butter
- 1 cup Granulated Sugar
- 1 tbsp Vanilla Extract
- 1 Egg
- 3 ¾ cups Plain Flour
For the Royal Icing
- 2 Large Egg Whites
- 5 cups Icing Sugar
- Squeeze of Lemon Juice
- Red Food Coloring Gel
For the royal icing, if your local grocery store does not carry icing sugar, confectioners (or powdered) sugar is a perfect substitute. Also, I found half a lemon’s worth of juice sufficient, following the rule of thumb that, with this particular citrus fruit, a little goes a long way. Then, when you get to Steps 6 and 7: To Make the Royal Icing (Continued), and Mason instructs you to very gradually add cold water, add the water a single tablespoon at a time till you get the consistencies Mason describes.
Cutting the Cookies
When rolling out the doughs (i.e., Step 4), Mason says to make each one 6mm thick, which converts to 0.24 inches – very thin dough sheets. You may notice, however, that my cookies are quite thick. Let me know in the comments below if you run into this hair-raising issue: My dough sheets would crack up if rolled to a thickness less than 12mm (0.5 inches). If you turn out hockey puck size cookies like mine – and I assure you, size does not diminish taste, add an additional five minutes to their bake time or until the edges turn a golden brown.
Icing the Cookies
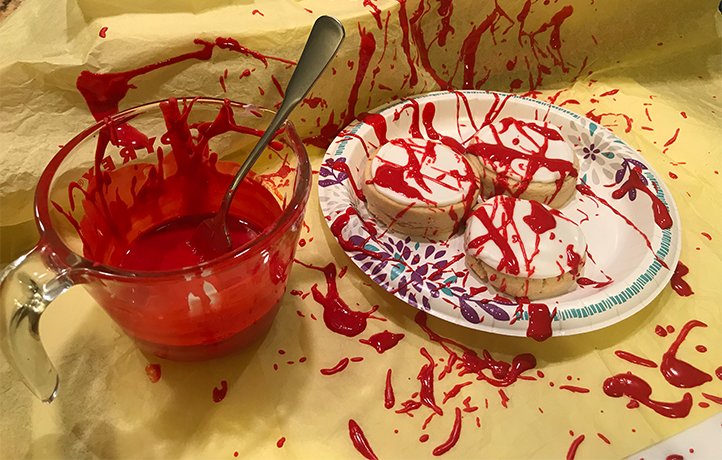
Perhaps the greatest exercise in patience is waiting for the white royal icing to set on these cookies. In my experience, the borders set fairly quickly, but the flooded centers took maybe 45 minutes; certainly not 1-2 hours, like Mason describes. Once you get past Step 12 though, the real fun begins. For an easy clean-up, be sure to cover your spatter space, then put on some frightful music or your favorite slasher scene, and let yourself go a little mad with the blood (icing).
Concluding Thoughts
Oh yes, there will be blood!
Thanks, Jigsaw. Well dear readers, there is not much left to say except, watch out for the boogeyman, and if you enjoyed making these bloody cookies, you may also want to try your deadly baker’s hand at blood drip cupcakes or a bloody good cheesecake. Happy Halloween!